Replace motorbox base plate assembly
In these guide, we will take you through the necessary steps to replace the base plate including the motors.
This is only necessary if your motors are faulty and you have been sent a replacement kit.
The removal of the box is identical:
Removing the motor box
Removing the base plate
- Loosen the 4 screws on the base plate. (Torx T-10)
- Carefully remove the base plate.
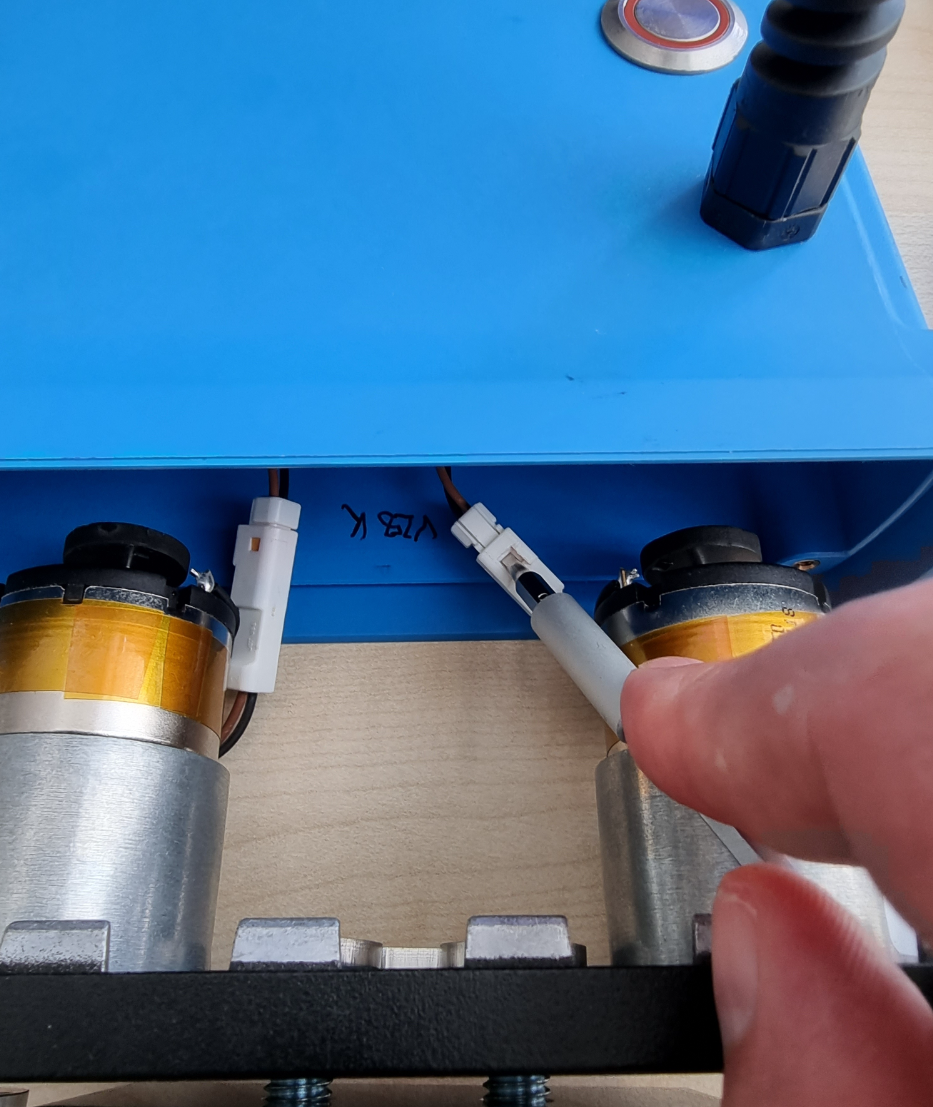
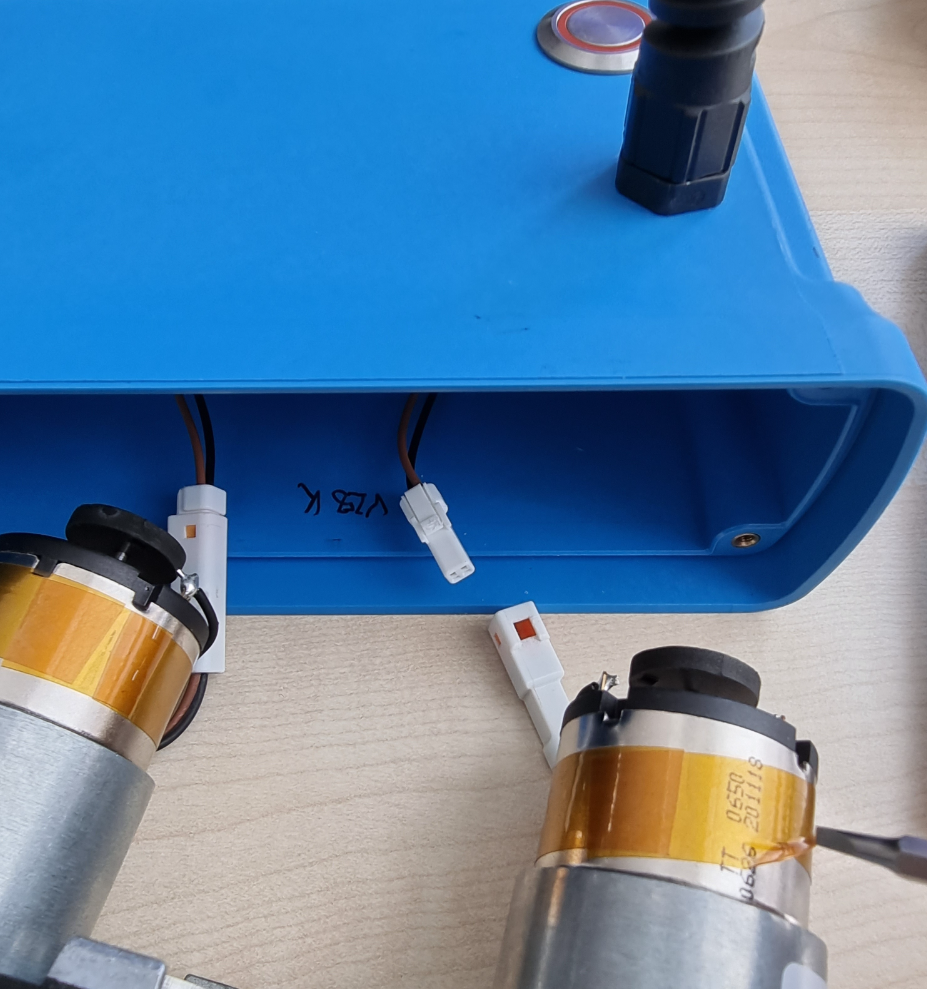
- Disconnect the cable connection of the motors to the plugs inside the box.
To release the connection, carefully press in a clip on the plug connection.
It is best to use a slim flat-head screwdriver to press the clip down.
This step can be fiddly. Take your time. -
Place the new base plate and align the plate so that the cables inside the box are on the same side as the cables on the motors and plug in the connectors.
-
Now insert the base plate all the way
-
Switch on the motor box to check that both motors are turning. Listen out for any grinding noises from the tops on the motor shafts.
-
-
Now screw the base plate back into place using the appropriate screws.
 For the subsequent installation, follow the instructions for installing the motor box correctly from here
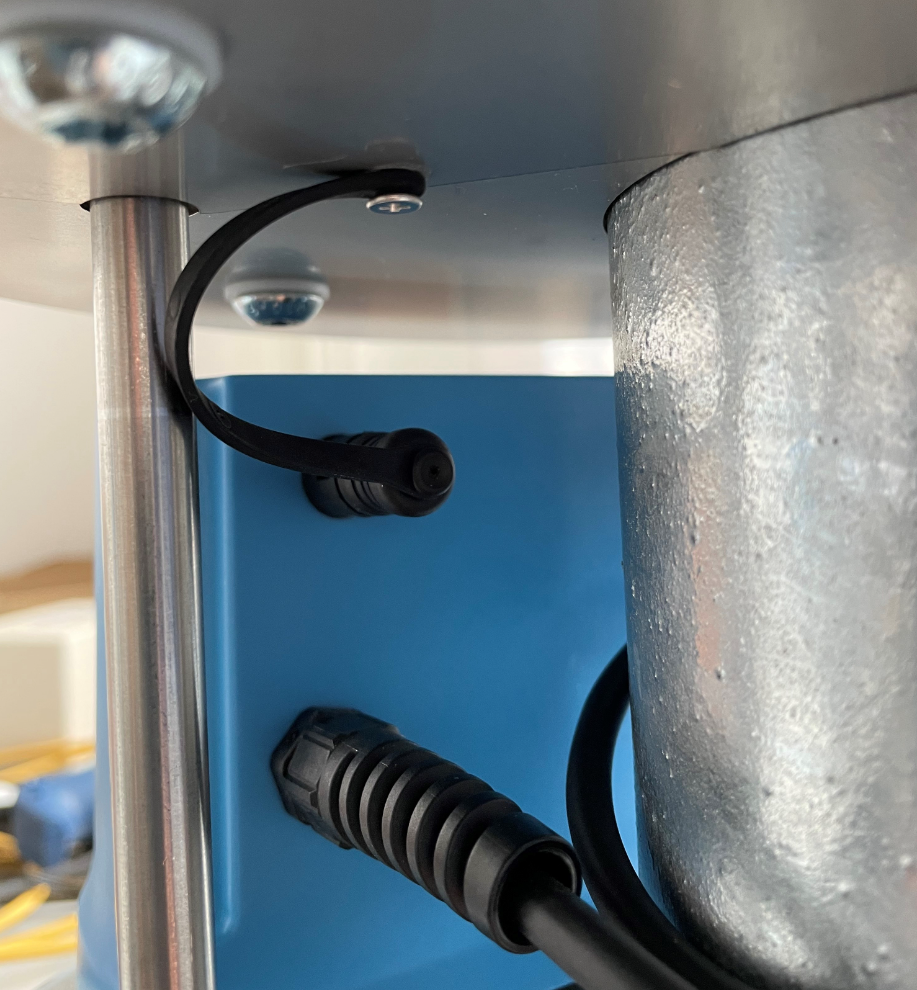
Do NOT Forget Your Cap
After installing the motor box, make sure to put the protective cap on the extension connection
Check whether the sector control is executing the commands you send from the app correctly.


No Comments