The Master Data - Crops and Soils
Within this section of the Raindancer System, you oversee the management of crops, units, and soils.
Entering the types of crops enables quick identification of which crop is cultivated in each field when viewing the field section.
It's possible that after importing, the names might be represented as numbers. These can be modified at any time subsequently.
Customise Your Crops
Crop types are mainly used to provide a clear overview of the various lists. They make it easier for new employees to find their way around.
- In the raindancer portal, select Master Data at the top right, then Crops
- Click on the edit icon to the right of the crop you want to edit
- To create, click on the "Add new crop" button at the bottom left
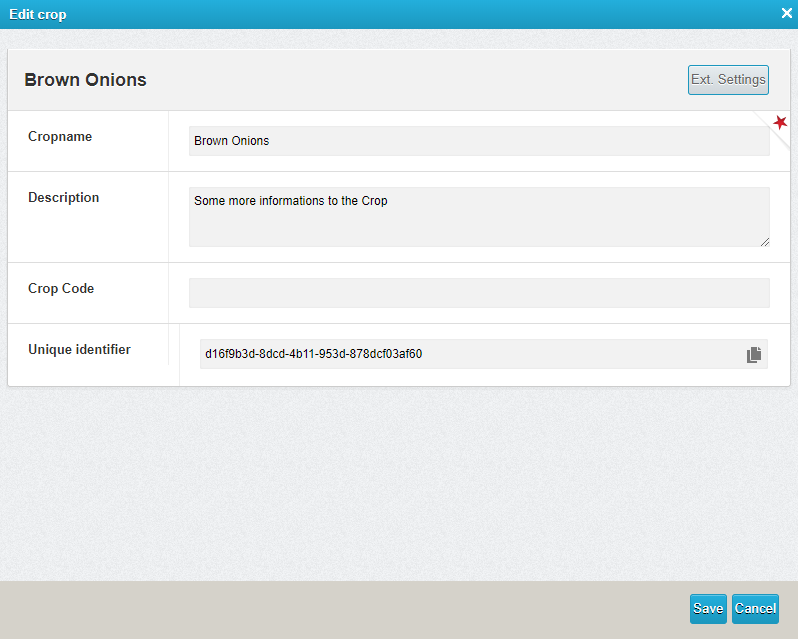
- Here you can change the crop name and description fields
- Optionally, you can also adjust the irrigation cycle by clicking on "Extended settings" (top right). The default value is set to 10 days. Changes can be saved by clicking on "Save and close".
- Confirm by clicking on the "Save" button.
Soils
Preparing soil is only necessary if you intend to irrigate weather stations or on demand.
A catalogue offers 12 distinct soil substrates for this purpose. They can be assembled into 10 cm blocks to create the soil. This soil can then be applied to fields for determining soil moisture. The layered substrates yield a staggered field capacity at depth.
This value indicates how well a soil can hold water against gravity.
-
In the raindancer portal, select Master Data at the top right, then Soils types
-
To edit, click on the edit icon to the right of the soil you want to edit
-
To create, click on the "Add new soil" button at the bottom left
-
-
Here you can change the Soil name and Description fields
-
After saving On the Substrates tab, you find the option to structure your soil from top to bottom.
-
Confirm by clicking on the "Save" button.


No Comments