Ocmis API
This guide applies to all IP controllers in the OCMIS product family running software version 24.0.1 or later:
Irtec Smart Rain, OCMIS RainControl 5 & Marani
1. Create a New API in the Raindancer Portal
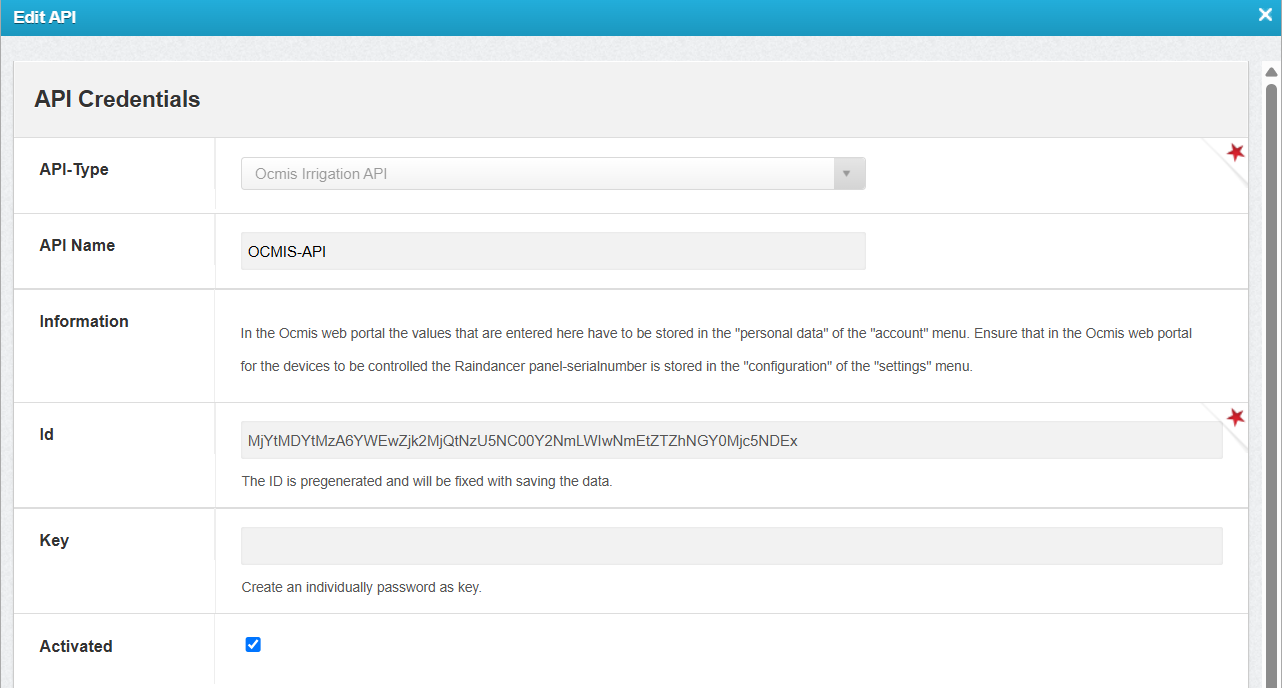
- Configure the API connection in Raindancer under Settings → API → New API
-
API Name: Freely selectable
Example: OCMIS API -
ID: Automatically generated
-
Key: Freely selectable
Example: Raindancer2026!

2. Configure the API and Irrigator in the OCMIS Portal
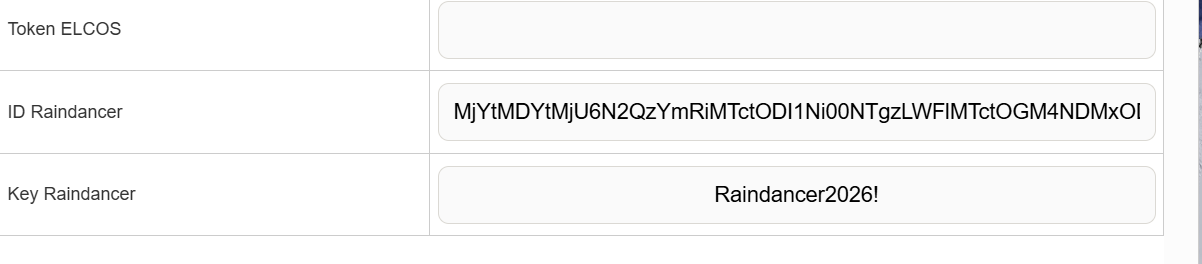
Enter the Raindancer API credentials in the OCMIS Portal.
- Log in to the OCMIS Portal (https://www.irriverso.com/)
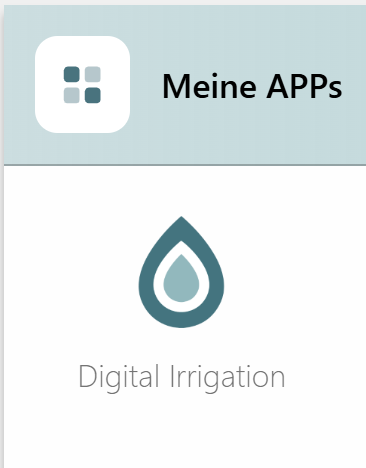
- Navigate to "My Apps" and click "Digital Irrigation"

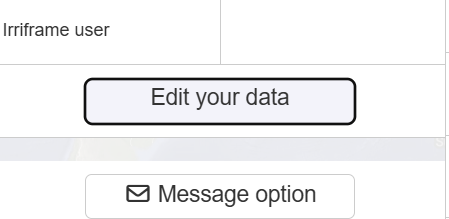
- Click "Account"

- Click "Edit Personal Data"
- Enter the API ID and API Key, then click Save


Configure the Irrigator in the OCMIS Portal
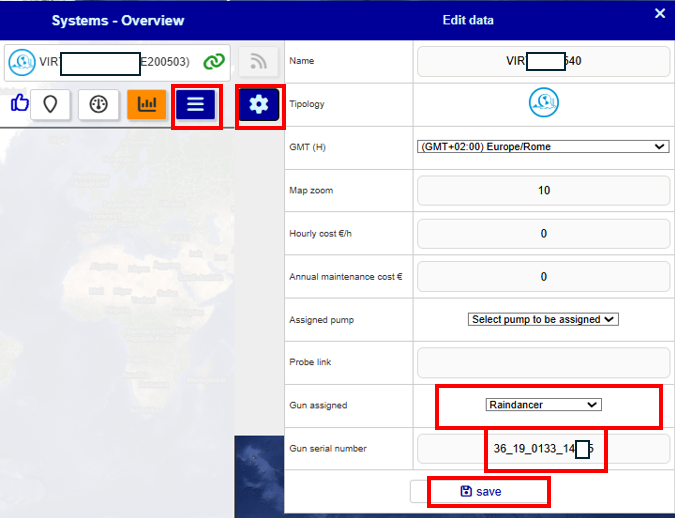
- Open the Irrigator Overview.
-
Navigate to Settings → Configurations.
- Select Raindancer Mode and enter the serial number of the Raindancer module installed on the irrigator cart for this machine.
- Save

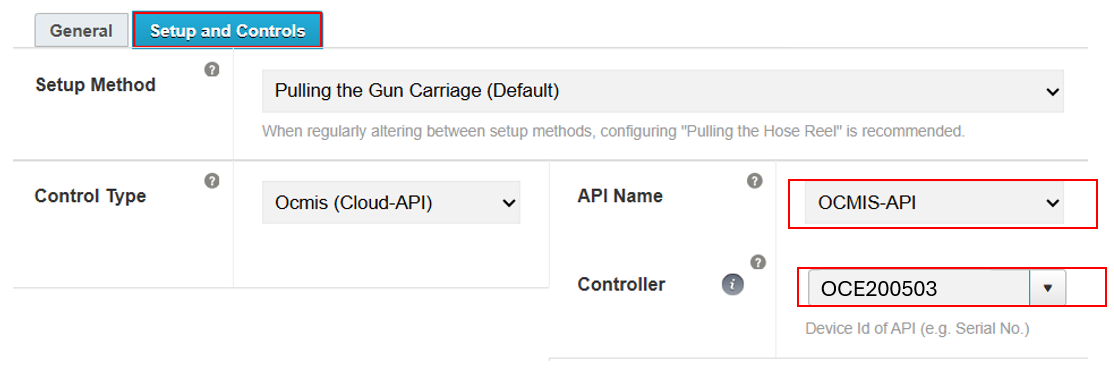
3. Assign the OCMIS Controller Serial Number in the Raindancer Portal
1 Find the Controller Serial Number
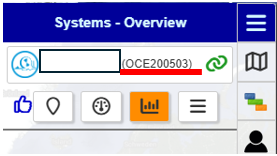
- Log in to the OCMIS Portal
- Copy the irrigator's serial number without the parentheses

2 Assign the Controller to an Irrigator
- Log in to the Raindancer Portal.
- Open the Setup and Controller section.
- Controller Type: OCMIS API
- API Name: The API name created in Section 1.2 (Example: OCMIS API)
- Select Controller: Choose the copied serial number from Section 3.1 (Example: OCE200503)

4. Set up the OCMIS control unit on the reel
For the following steps, it is necessary to familiarize yourself with the reel's user manual to avoid making incorrect settings. The manual also contains the access credentials for the various configuration menus of the OCMIS control unit.
It must also be ensured that the modem of the OCMIS control unit is active and that either a dedicated SIM card or the e-SIM of the installed router is working.
If you have any questions regarding the topics in this section, please contact your OCMIS sales partner!
Activate Raindancer mode for the irrigator trolley
-
First, enter the password ABC123 via the lock icon at the bottom left

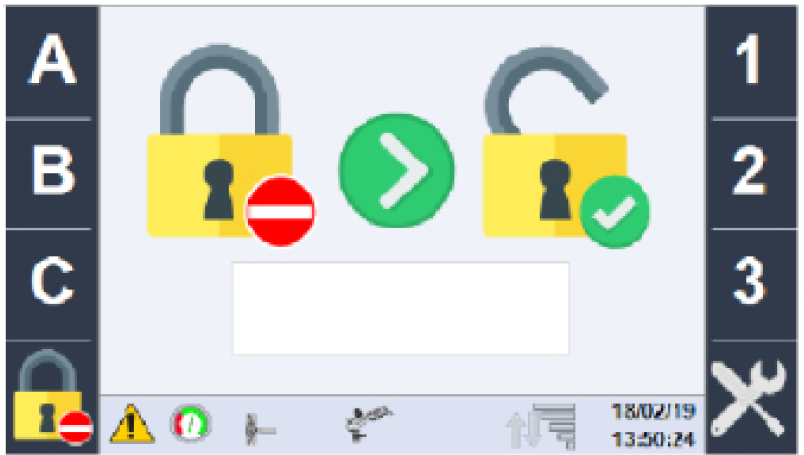
-
Now use the green arrow keys to scroll to the gun configuration, then use the rotary dial to switch to Raindancer mode
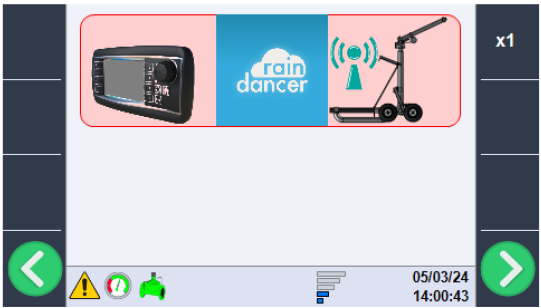
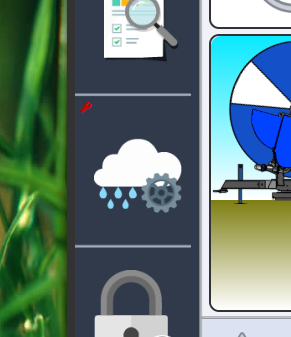
-
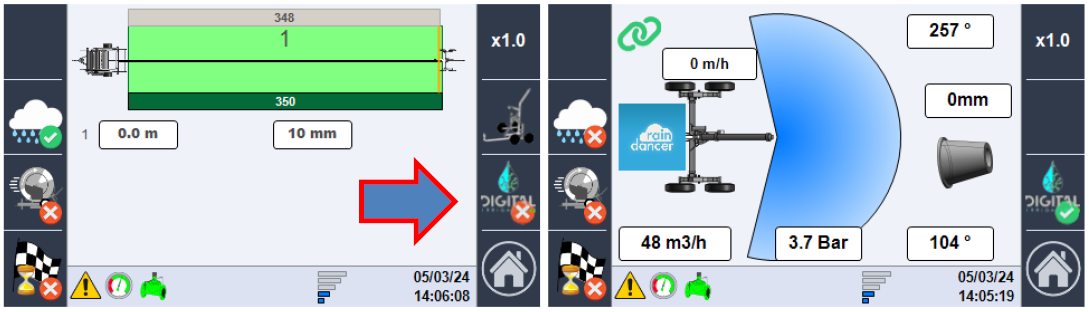
On the main page, click the cloud icon with the gear symbol
-
Click the "DIGITAL" button to switch to the Raindancer dependency mode


No Comments