Die Stammdaten - Fruchtarten und Böden
In this area, you manage the crops, units and soils.
Entering the crop types helps you to see at a glance later in the area section which crop is grown on the field.
After an import, it may be that the name has been adopted as a number. You can of course adjust this later.
Customise Your Crops
Crop types are mainly used to provide a clear overview of the various lists. They make it easier for new employees to find their way around.
- In the raindancer portal, select Master Data at the top right, then Crops
- Click on the edit icon
 to the right of the crop you want to edit
 - To create, click on the "Add new crop" button at the bottom left
- Click on the edit icon
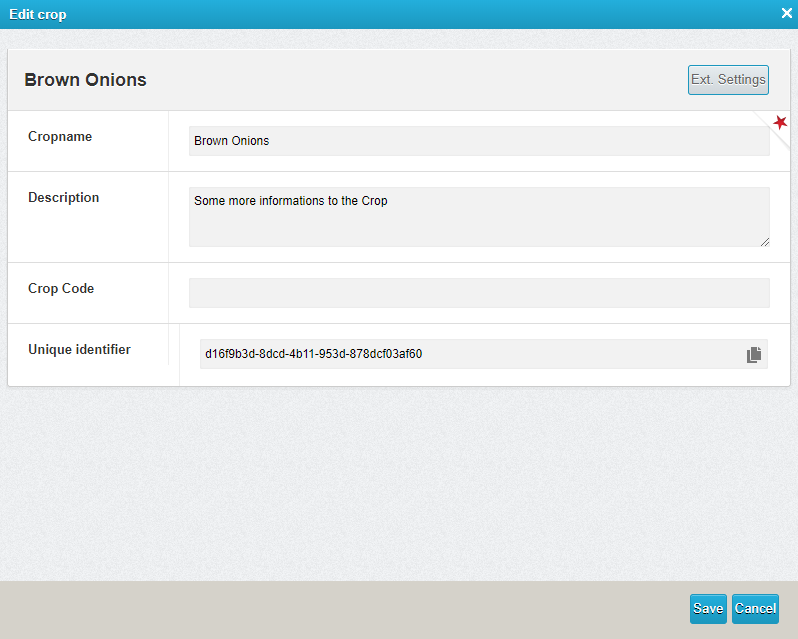
- Here you can change the crop name and description fields
- Optionally, you can also adjust the irrigation cycle by clicking on "Extended settings" (top right). The default value is set to 10 days. Changes can be saved by clicking on "Save and close".
- Confirm by clicking on the "Save" button.
Soils
Setting up soil is only relevant if you plan to irrigate weather stations or by demand.
There is a catalogue of 12 different soil substrates available for this purpose. These can be put together in 10 cm blocks to form the soil. This soil can then be added to the fields where the soil moisture is to be determined. The substrate layers result in a deep staggered field capacity.
This value indicates how well a soil can hold water against gravity.
-
In the raindancer portal, select Master Data at the top right, then Soils types
-
To edit, click on the edit icon
to the right of the soil you want to edit -
To create, click on the "Add new soil" button at the bottom left
-
-
Here you can change the Soil name and Description fields
-
After saving On the Substrates tab, you find the option to structure your soil from top to bottom.
-
Confirm by clicking on the "Save" button.