Installing the GPS module correctly
Introduction
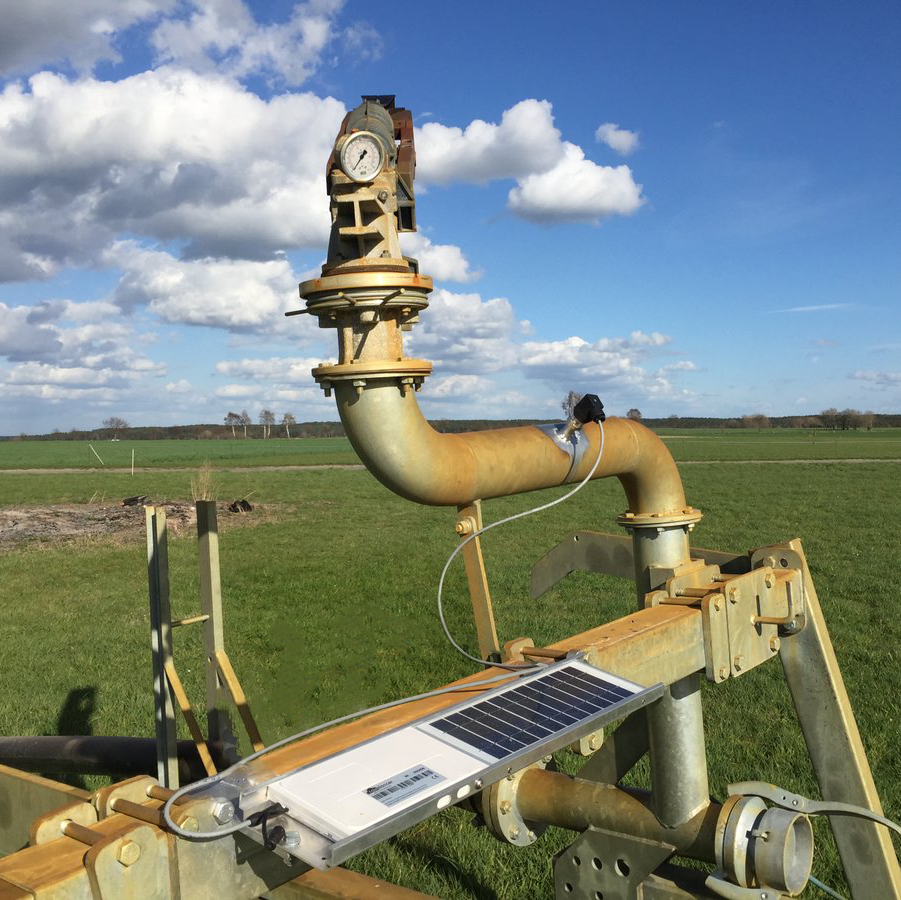
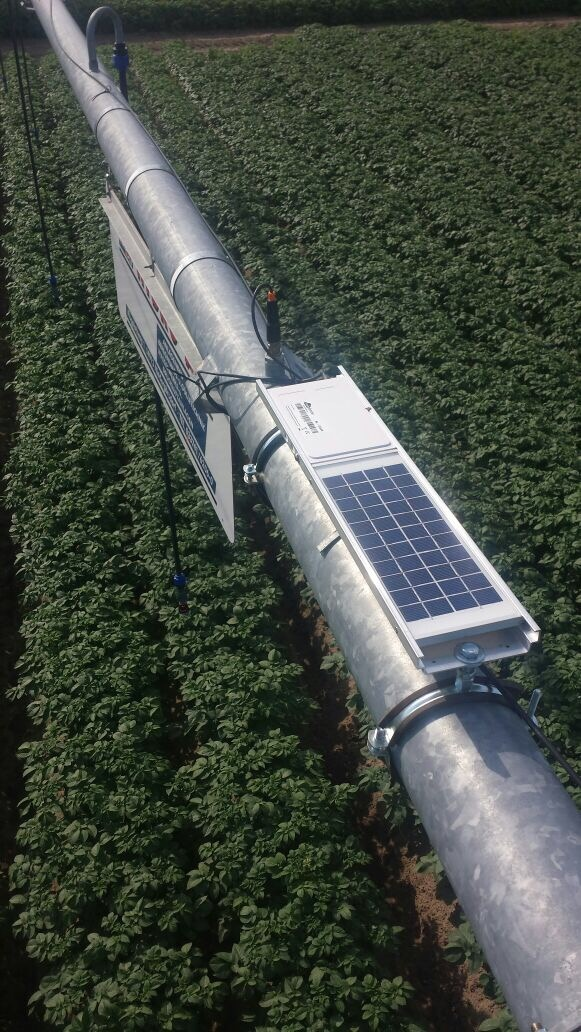
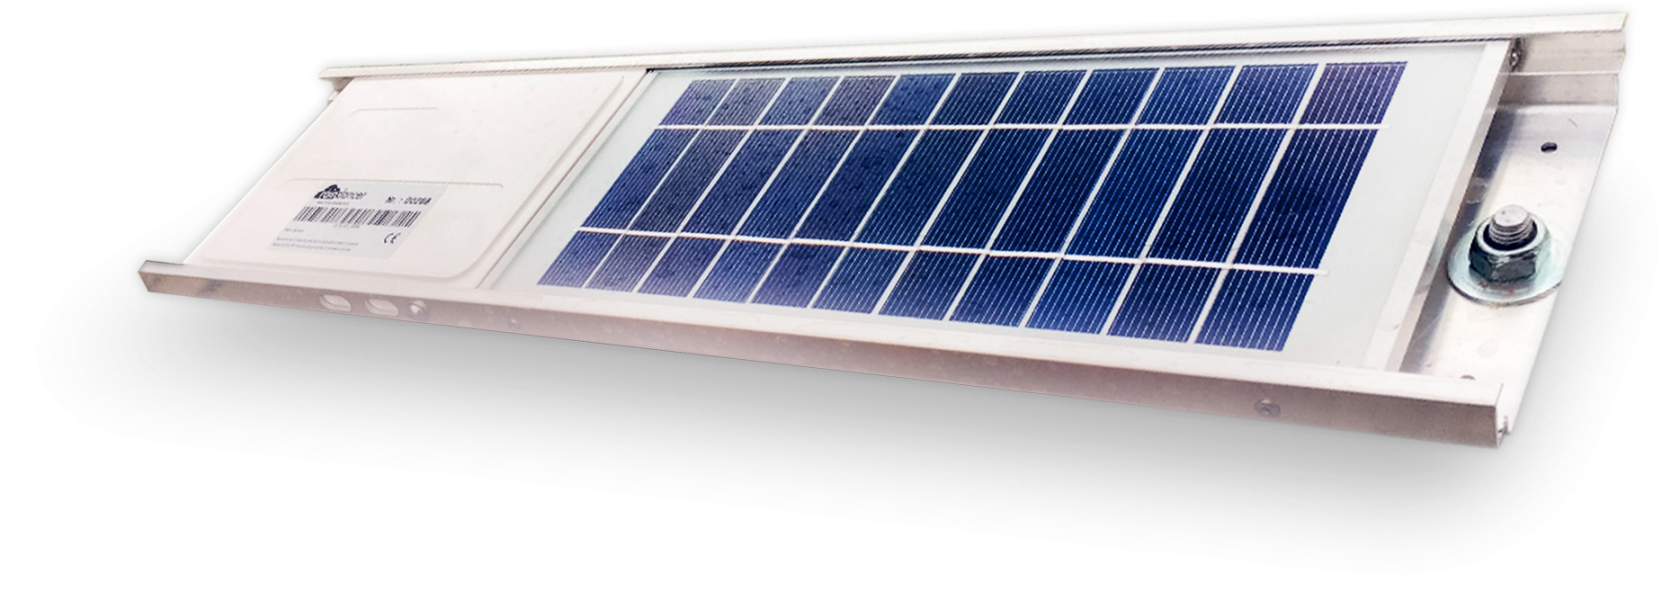
We leave the installation of the solar module up to you. You should ensure that the solar module is mounted horizontally on your gun carriage construction with a clear "view" of the sky. Shading of the solar panel should also be avoided for the best efficiency.


Installation
- The raindancer GPS solar panels are mounted on the gun carriage in a horizontal position, fastened.
A raindancer mounting kit is available for installation. The mounting can be very different depending on the existing sprinkler stand. Most customers mount the Raindancer by means of welded flat bars. - The pressure sensor should be mounted near the gun and preferably vertically from above. The "upside down" mounting should prevent water or other deposits from remaining in the sensor. If you have an existing ¼ inch connector in a horizontal position, we recommend using an angle piece to guarantee the "upside down" mounting.
- You must not shorten cables that are too long, but fix them with cable ties.
Assigning the Solar module to the irrigator
If you order a GPS module, we will put it into your client's system upon delivery, and you can then assign it to the irrigator to which it was attached to.
Precision
If a device has been stored indoors or other places with poor GPS signal coverage for a long time, it may take some time to return to normal precision (usually a few minutes, rarely up to an hour). Buildings or similar in the surrounding area of the GPS device also limit the sight on the satellites and therefore the accuracy.
Summary of the initial setup
- GPS solar panel is mounted horizontally
- Pressure sensor is mounted "upside down" near the gun
- Do not shorten the cable, only fix it in place
- GPS module is assigned to a irrigator
- GPS module is set in summer mode

