Raindancer GPS Modul
This section deals with the maintenance and servicing of the GPS modul.
- Installing the GPS module correctly
- Reset the Module
- Maintaining and Cleaning the Solar Modules
- Storage in the Winter
- Using the Raindancer Power Supplies
Installing the GPS module correctly
Introduction
We leave the installation of the solar module up to you. You should ensure that the solar module is mounted horizontally on your gun carriage construction with a clear "view" of the sky. Shading of the solar panel should also be avoided for the best efficiency.


Installation
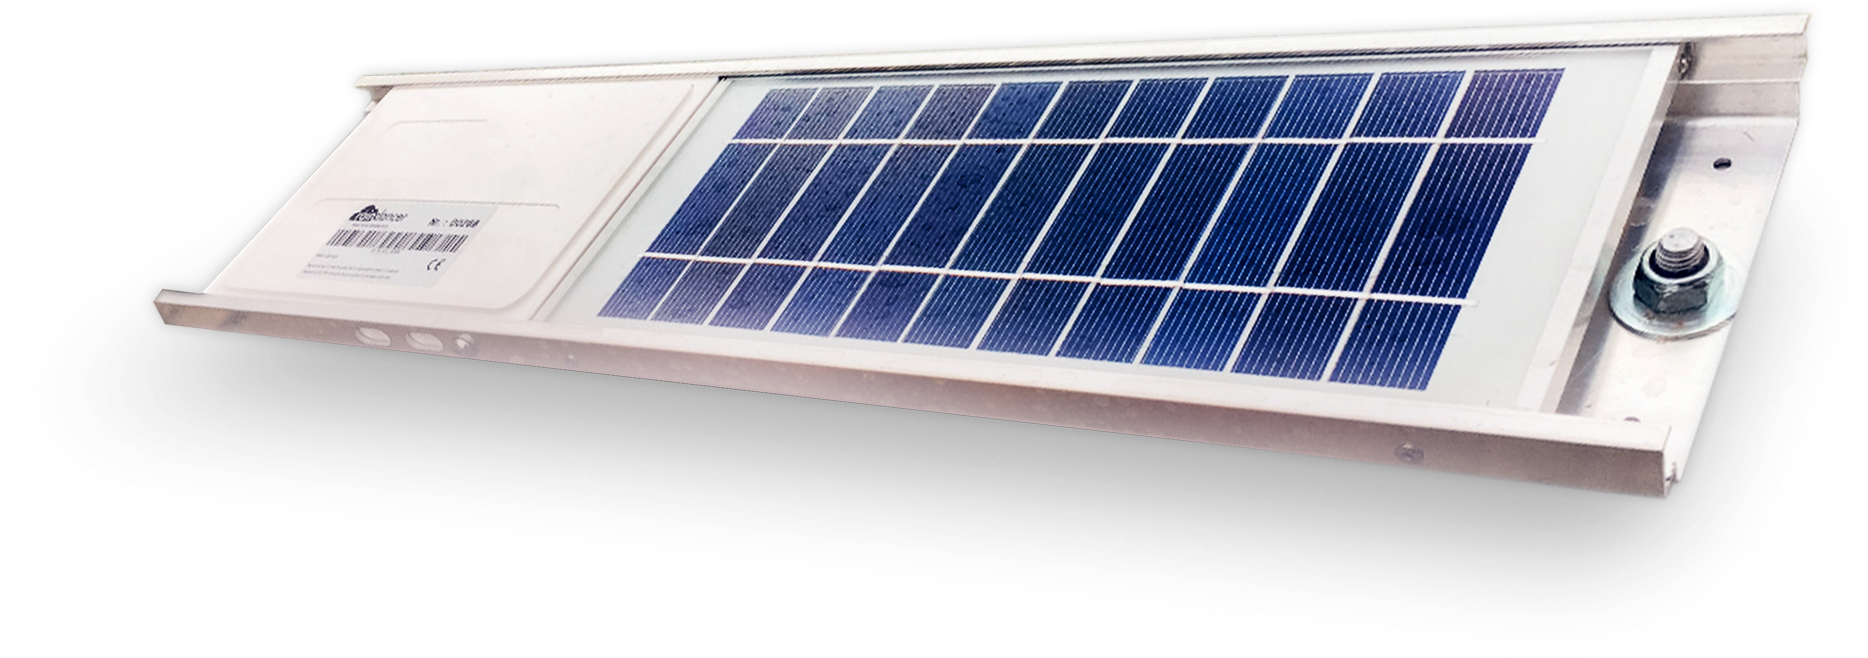
- The raindancer GPS solar panels are mounted on the gun carriage in a horizontal position, fastened.
A raindancer mounting kit is available for installation. The mounting can be very different depending on the existing sprinkler stand. Most customers mount the Raindancer by means of welded flat bars. - The pressure sensor should be mounted near the gun and preferably vertically from above. The "upside down" mounting should prevent water or other deposits from remaining in the sensor. If you have an existing ¼ inch connector in a horizontal position, we recommend using an angle piece to guarantee the "upside down" mounting.
- You must not shorten cables that are too long, but fix them with cable ties.
Assigning the Solar module to the irrigator
If you order a GPS module, we will put it into your client's system upon delivery, and you can then assign it to the irrigator to which it was attached to.
Precision
If a device has been stored indoors or other places with poor GPS signal coverage for a long time, it may take some time to return to normal precision (usually a few minutes, rarely up to an hour). Buildings or similar in the surrounding area of the GPS device also limit the sight on the satellites and therefore the accuracy.
Summary of the initial setup
- GPS solar panel is mounted horizontally
- Pressure sensor is mounted "upside down" near the gun
- Do not shorten the cable, only fix it in place
- GPS module is assigned to a irrigator
- GPS module is set in summer mode
Reset the Module
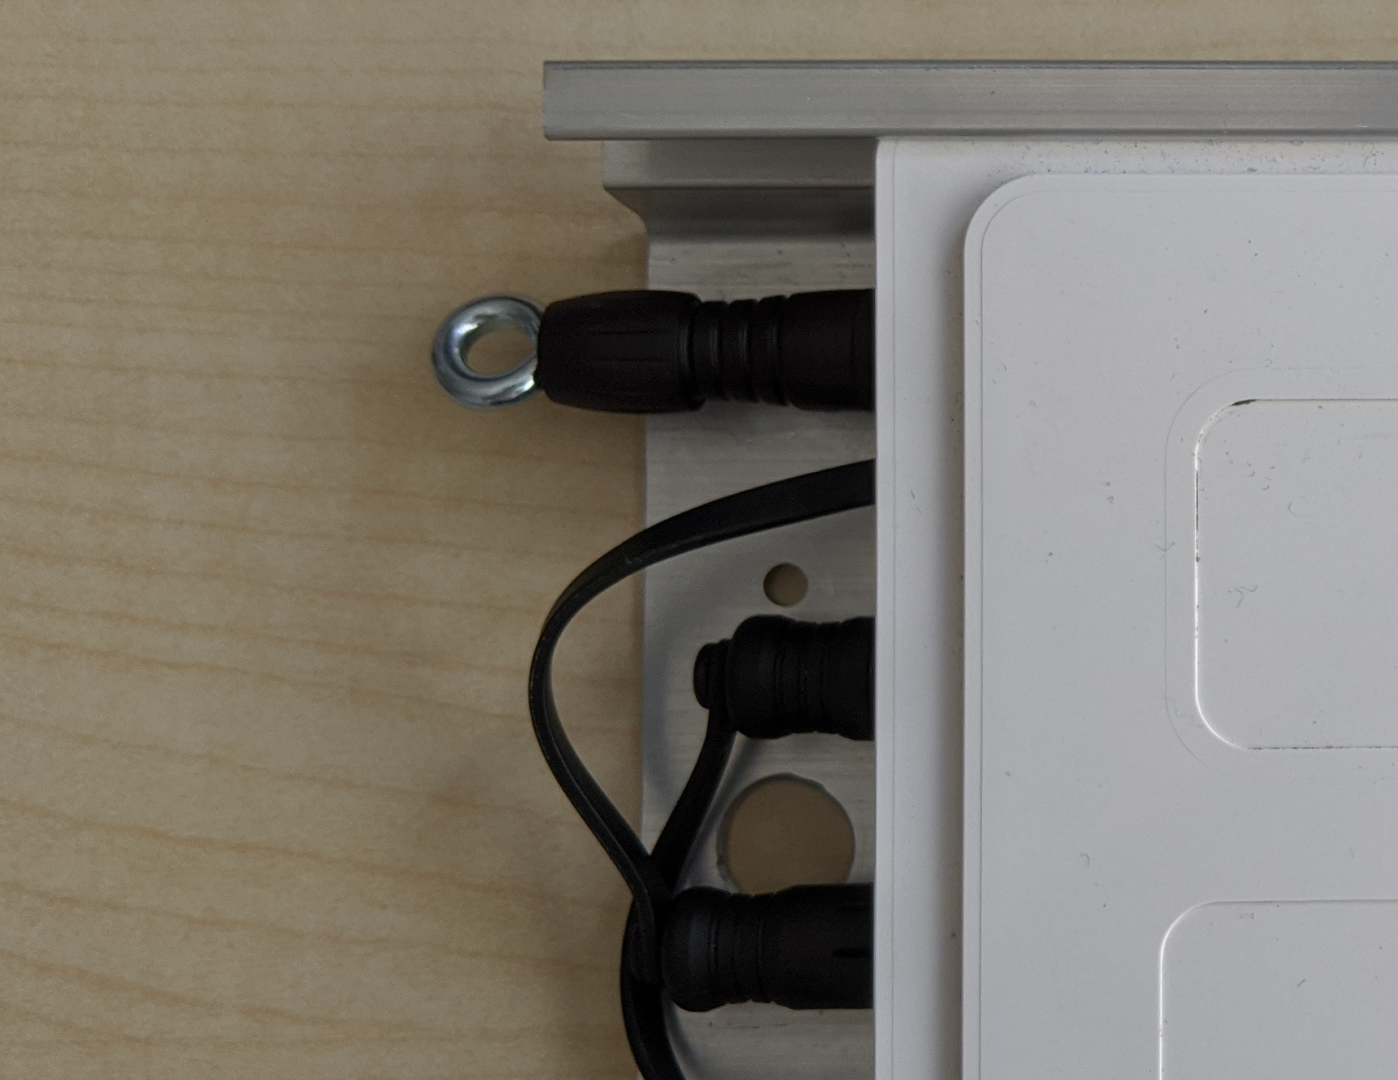
To reset the module, you need the reset stick.
Simply insert this reset stick into the appropriate connector on your Raindancer module. It is the port to which the pressure sensor is usually connected.
Connect the reset stick straight and pull it straight out again. Never wiggle or twist the reset stick
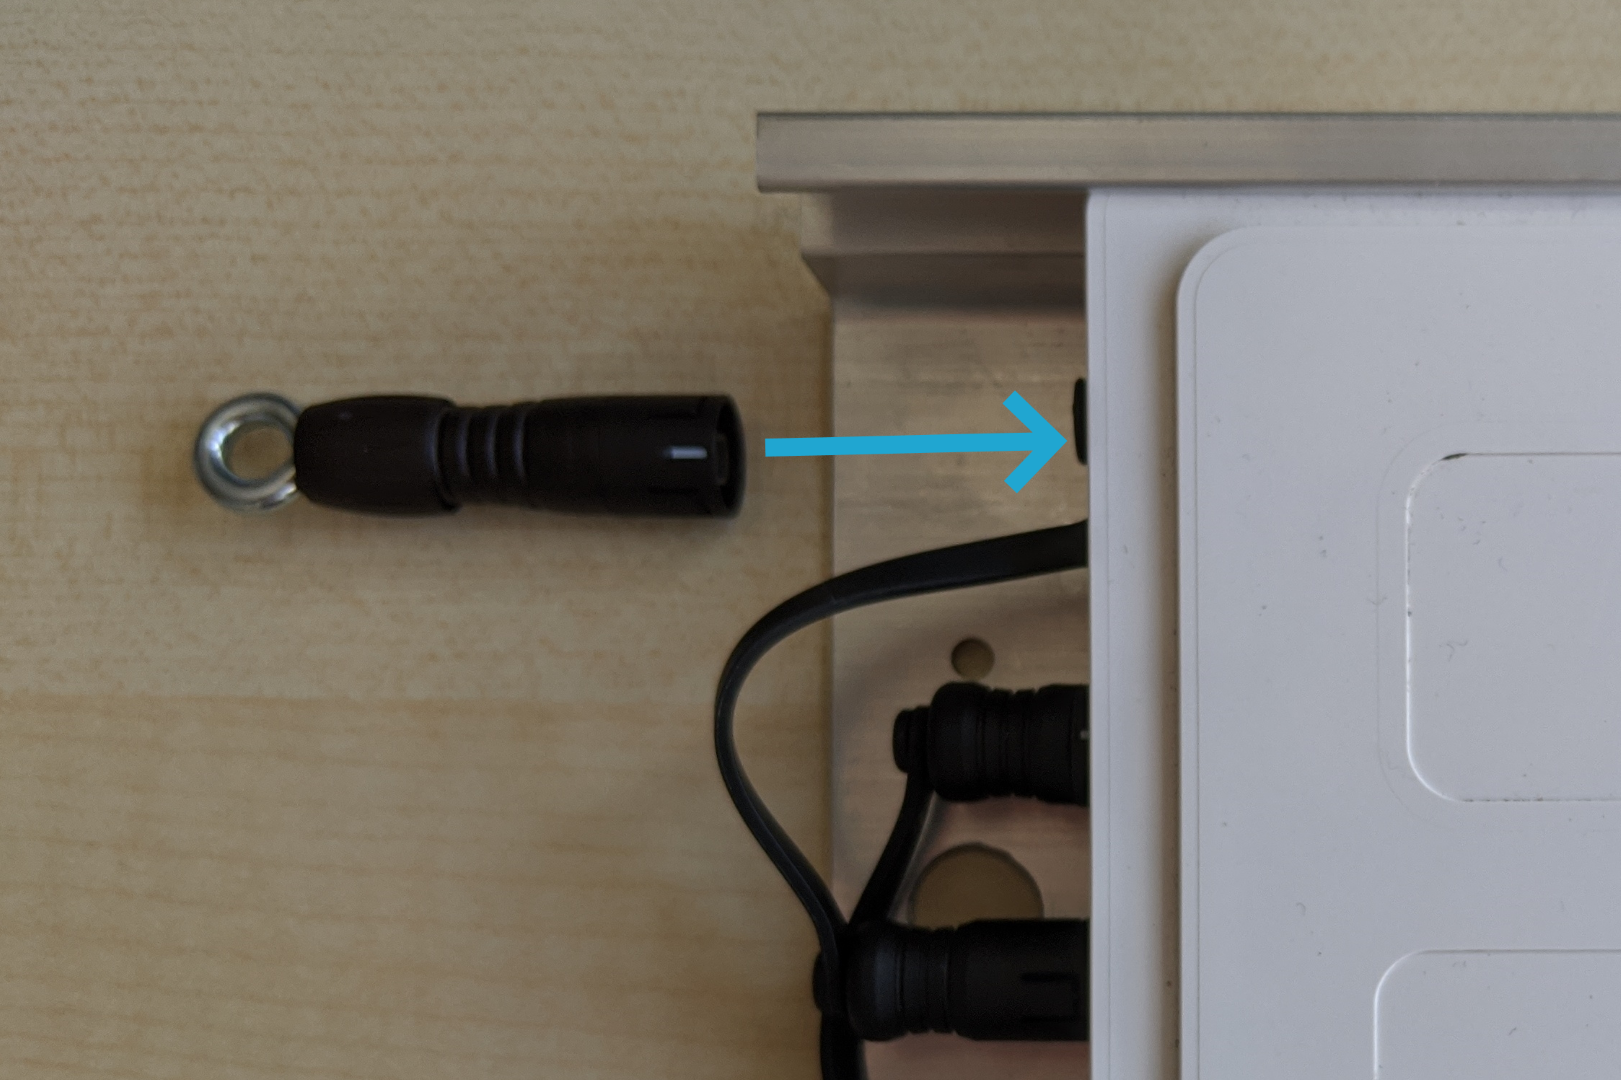
Wait a few seconds and disconnect the plug again. The device will then restart and the connection should be re-established within a few minutes.
Of course, your previously recorded irrigation data or information about fields etc. is retained.
Which Devices Can I Reset?
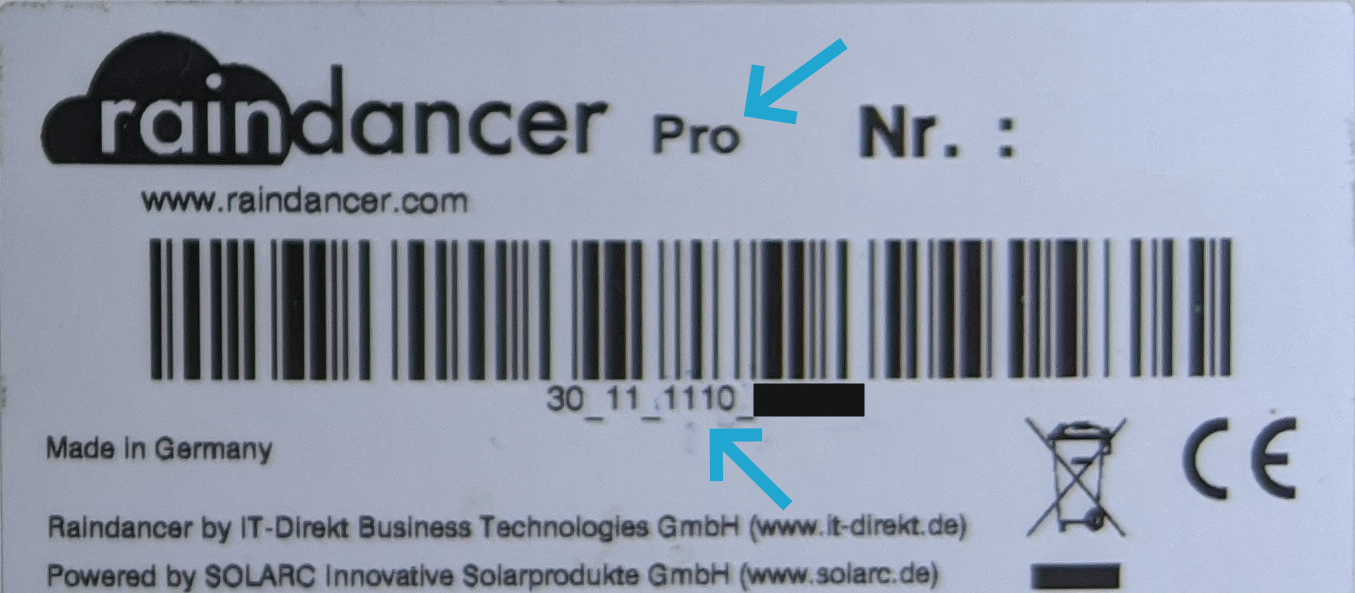
You can recognise a Pro device by the "Pro" suffix on the identification label or by the serial number.
Please note that this procedure only works with Pro devices and second-generation standard devices.
You can only recognise a standard device by its serial number.
Serial number of a Pro device:
XX_XX_X1X(X)_XXXXX
Serial number of a second generation standard device:
XX_XX_XX2(X)_XXXXX
The X stands for any number. For some serial numbers, the bracketed (X) is not present
Maintaining and Cleaning the Solar Modules

If the solar module is dirty, you can clean it with a cleaning sponge with the "hard cleaning side"
- Solar panels must not be cleaned with high-pressure cleaners.
- Do not use aggressive chemicals to avoid damaging the seals.
- A kitchen sponge with the rough green side has proven to be effective. A soap pot sponge with steel wool from the drugstore has also achieved very good results.
Storage in the Winter
If your irrigator is stored indoors for several days, the solar module will discharge.
You should allow approx. 2 days for charging after discharging in good sunlight. We recommend that you put the solar module into hibernation in autumn - it will then only transmit its position once a day.
Of course, you will need to "wake up" the module again before using it in spring. You can trigger both scenarios in the irrigators in the portal. You can connect the module to a charger so that it is immediately ready for use after a longer period of storage. You can order such a charger from us.
Before you drive the irrigator into the hall, please switch the Raindancer units in the Raindancer Portal (https://portal.) to winter mode. This ensures that the batteries are preserved and do not discharge completely during the winter. Storing the modules with fully discharged batteries has a negative effect on the durability of the batteries.
To maximise durability, the Raindancer modules must be dismounted in winter and stored frost-free.
Make sure that your pressure sensor no longer has water in it.
Due to physical forces (adhesion), water may remain in the pressure sensor even when the machines are empty and these may be destroyed by frost. If the machines are not stored frost-free in winter, the pressure sensors must therefore be removed and stored frost-free.
Pre-season preparation
Please remember to bring the devices into the sun early enough to charge them. A few days are sufficient in sunny weather. On cloudy days, considerably more time is required (you can also order optional chargers).
Switch the devices in the portal (https://portal.myraindancer.com) back to summer mode
(devices are supplied in winter operating mode).
Using the Raindancer Power Supplies
Raindancer power supplies help your solar panels stay reliably charged, even when there's no sunlight.
Before you get started, here are a few important points to keep in mind:
Correct Interpretation of Battery Status
The battery status displayed in the app always represents the status at the last connection. Therefore, the indicated battery voltage becomes meaningful only after the Raindancer panel resumes regular communication.
Recommendations for Use
-
Startup:
Connect the power supply. -
Charging After Longer Downtimes:
Charge the device for at least 8 hours to ensure the battery is sufficiently charged. -
If No Connection emerges:
If there is still no system connection after 8 hours, perform a reset. Ideally, use the reset plug provided. Alternatively, disconnect the power supply from the power source briefly, then reconnect it. -
For Deeply Discharged Batteries:
If the battery was deeply discharged, leave the device connected to the power supply for up to 24 hours. By this time, a connection to the system should be established. -
Capacity When Fully Charged:
A fully charged device lasts approximately 3 days in Summer Mode without sunlight. Use the energy-saving Summer Mode to extend this period by up to 2 additional days, or Winter Mode for several weeks. -
Charging During Regular Operation:
A device that is already regularly communicating typically reaches a full charge within a maximum of 8 hours when connected to the power supply